This bariatric gelatin recipe is designed for people recovering from weight-loss surgery. Always follow your bariatric team’s instructions before adding new foods. For official post-op nutrition guidelines, see the American Society for Metabolic and Bariatric Surgery patient resources. This bariatric version is one of four covered in the complete gelatin weight loss recipe guide.
When my dad came home after gastric sleeve surgery, his surgeon handed him a list of approved clear liquids and said, “Get your protein however you can.” Jell-O was on the list, but regular store-bought gelatin is basically sugar water with almost no protein. That was not going to cut it.
I spent two weeks testing different protein powders, gelatin brands, and ratios to build a bariatric gelatin recipe that actually delivers 14–18 grams of protein per serving, stays soft enough for a healing stomach, and does not trigger dumping syndrome. The result is a firm but spoon-tender gelatin that works at every post-op stage, from clear liquids to regular diet.
What you will learn: how to make this high-protein bariatric gelatin recipe, which protein source works best, how to adapt it for each recovery stage, and what I learned from the batches that failed.
Bariatric Gelatin Recipe Ingredients
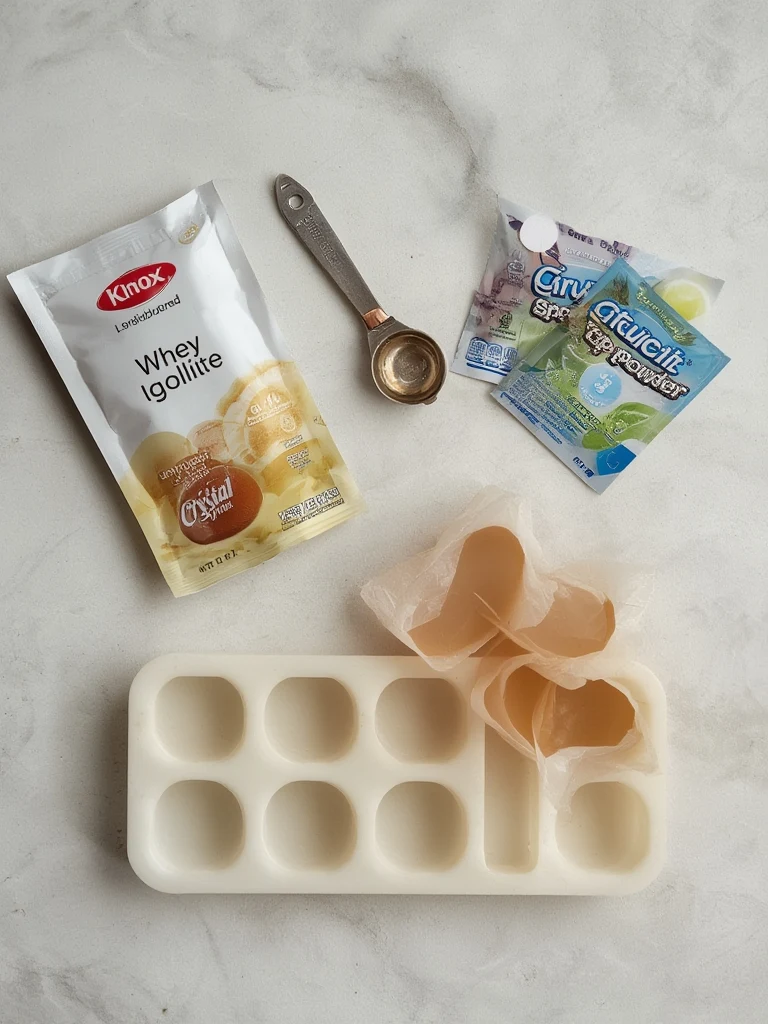
- 2 packets (14 g) unflavored gelatin powder — I tested Knox and Great Lakes; both work, but Knox sets slightly firmer
- 2 cups cold water, divided
- 1 cup unsweetened fruit juice or sugar-free flavored water (Crystal Light, Mio, or herbal tea)
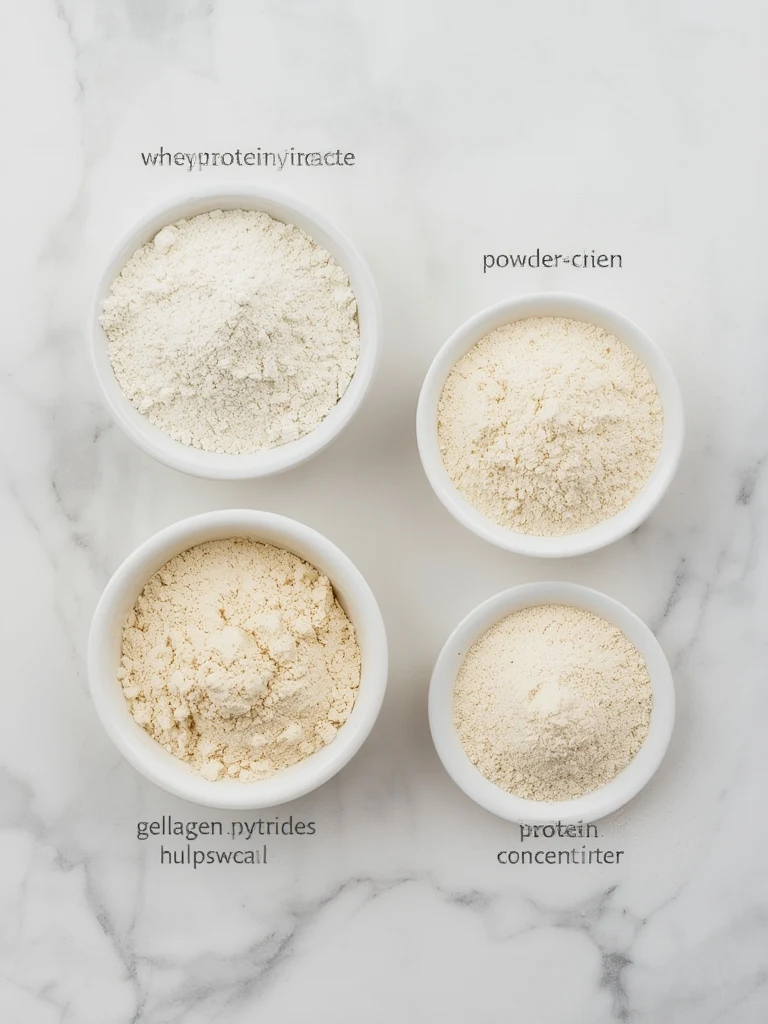
- 1 scoop (≈25 g) unflavored or vanilla whey protein isolate — not concentrate; isolate dissolves cleaner
- Optional: 1 tbsp unflavored collagen peptides for extra protein
- Optional: stevia or monk fruit to taste
- Small containers or silicone molds for portioning
Sara’s tip for this bariatric gelatin recipe: Use whey protein isolate, not concentrate. Concentrate contains more lactose and fillers that can clump when mixed into gelatin. I learned this the hard way on batch two. For the gelatin itself, I use Knox unflavored gelatin — it sets slightly firmer than Great Lakes and is available at most grocery stores.
How to Make Bariatric Gelatin (Step by Step)
Total time: 20 minutes prep + 4 hours chilling
Difficulty: Easy
Yield: 4 servings (½ cup each)
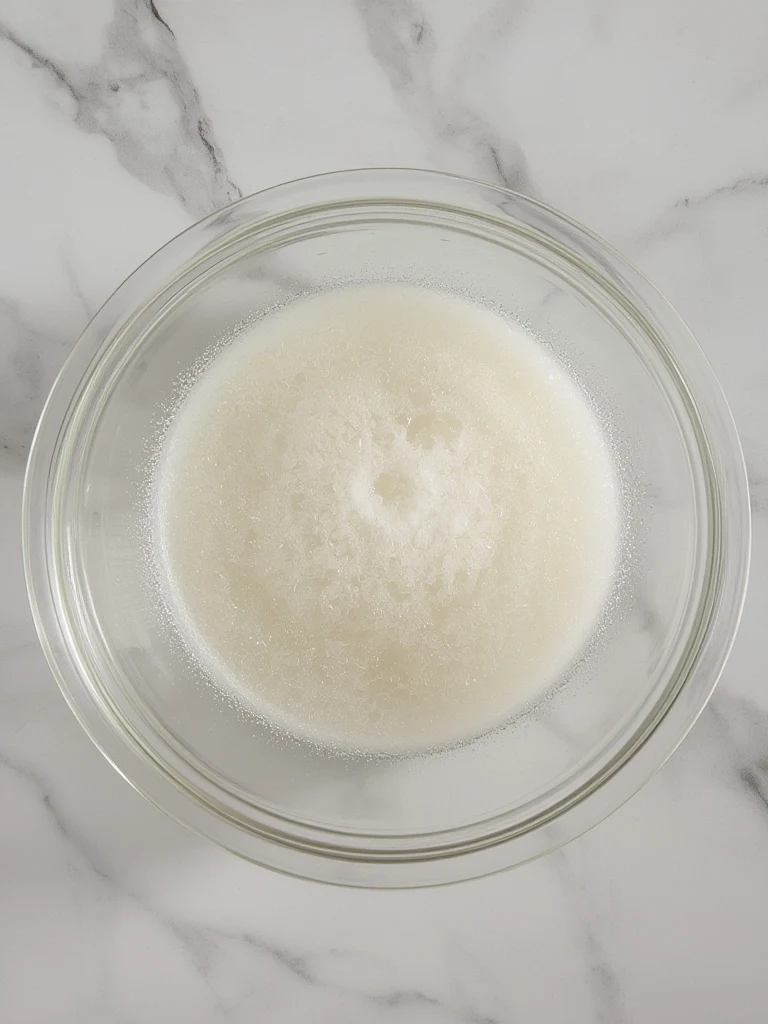
Step 1: Bloom the Gelatin
Sprinkle the unflavored gelatin evenly over 1 cup of cold water in a medium bowl. Blooming is the first critical step in any successful bariatric gelatin recipe. Let it sit for 2 minutes without stirring. The granules will absorb water and swell — this is blooming, and it prevents lumps later.
Sara tested this: I tried stirring immediately once, and the gelatin clumped into rubbery balls that never dissolved. Patience here saves the whole batch.
Step 2: Heat the Flavored Liquid
In a separate small saucepan, warm the remaining 1 cup of water or juice until it is hot but not boiling. You should see steam but no bubbles breaking the surface. Boiling can degrade the gelatin’s setting strength.
If you are using Crystal Light or Mio, mix the concentrate into the hot water now. If you are using unsweetened juice, you may want to add a few drops of stevia depending on your taste.
Step 3: Dissolve the Gelatin
Pour the hot liquid over the bloomed gelatin. Stir gently with a fork or whisk until the mixture is completely clear and no grains remain on the bottom of the bowl. This takes about 30–45 seconds.
What to look for: The liquid should look like thin, colored glass. If you see floating grains, keep stirring. Undissolved gelatin = grainy final texture.
Step 4: Cool Before Adding Protein
This is the step most bariatric gelatin recipe guides skip, and it ruins the protein every time.
Let the gelatin mixture cool for 3–4 minutes at room temperature. Test the temperature by dipping a clean finger — it should feel warm, not hot. If it is too hot when you add whey protein, the protein will denature and clump into sandy curds that ruin the texture.
Sara’s tip: I set a timer for 3 minutes. At exactly 3 minutes, the temperature is safe for whey isolate. At 90 seconds, it is still too hot. At 5 minutes, the gelatin starts to set around the edges in the bowl. Three minutes is the sweet spot.
Step 5: Whisk in the Protein
Add 1 scoop of whey protein isolate and the optional collagen peptides. Whisk vigorously until the mixture is smooth and slightly foamy. The foam will settle during chilling.
If you see small lumps: Press them against the side of the bowl with the back of a spoon and stir again. If the lumps are large and rubbery, the liquid was too hot — you will need to strain the mixture through a fine mesh sieve before chilling.
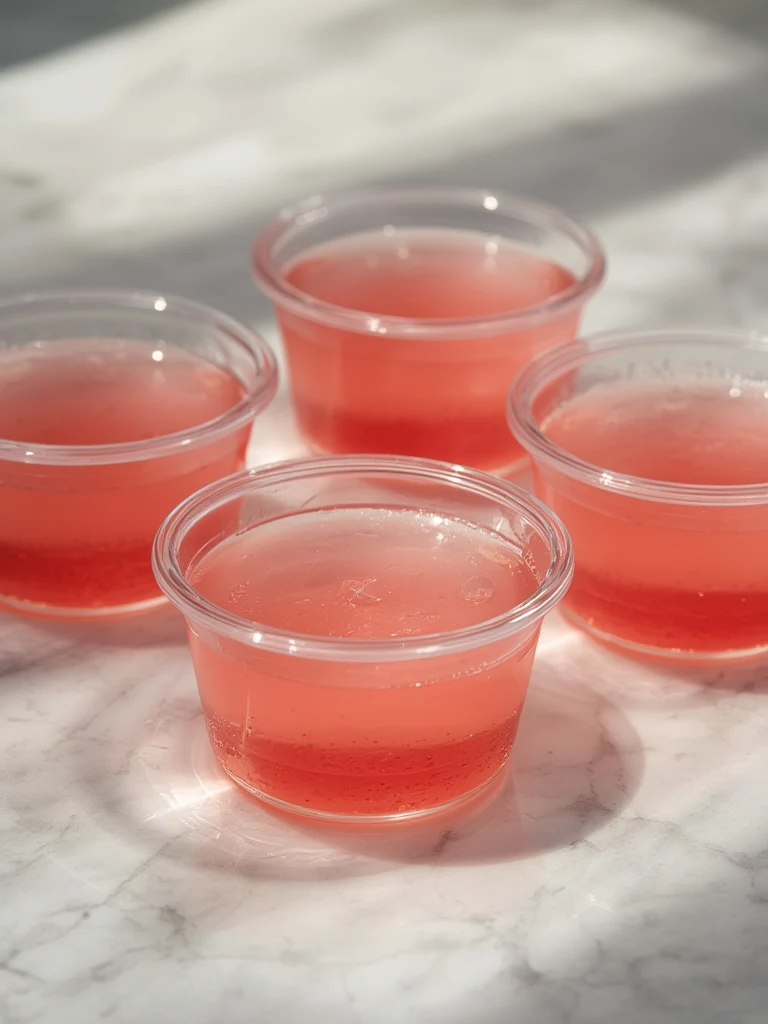
Step 6: Portion and Chill
Divide the mixture into 4 small containers (½ cup each). Small portions matter after bariatric surgery — a full cup is too much for a healing stomach, and leftover open gelatin spoils faster.
Refrigerate uncovered for the first 30 minutes, then cover with plastic wrap or lids. Chill for at least 4 hours, preferably overnight. The gelatin is ready when it is firm to the touch but breaks easily with a spoon.
Bariatric Gelatin Recipe: Nutrition Information (Per Serving)
| Calories | 75–85 |
| Protein | 14–18 g |
| Carbohydrates | 1–2 g |
| Sugar | 0 g |
| Fat | 0.5 g |
Most bariatric programs recommend 60–80 g of protein daily after surgery, with higher targets for the first few months. Two servings of this bariatric gelatin recipe contribute 28–36 g toward that goal.
Variations: If you skip the protein powder and use only unflavored gelatin, the protein drops to about 9 g per serving. If you add collagen peptides, you can push the total to 22–24 g.
Adapting Bariatric Gelatin for Each Recovery Stage
Stage 1: Clear Liquids (Days 1–3) — Bariatric Gelatin Basics
Use plain unflavored gelatin with water only. No protein powder. The goal is hydration and a familiar texture, not protein load yet. Your stomach is healing.
- 1 packet sugar-free gelatin
- 1 cup boiling water
- 1 cup cold water
- Serve 2–4 tablespoons at a time
Stage 2: Full Liquids (Days 4–14) — Add Protein to Your Bariatric Gelatin Recipe
This is when the main recipe above comes in. Add the whey protein isolate. Start with ¼ cup servings and eat slowly over 15–20 minutes. If you feel discomfort, reduce the portion and try again the next day.
Stage 3: Soft Foods (Weeks 3–6) — Vary Your Bariatric Gelatin Recipe
Use the full recipe with firm setting (2 packets gelatin). Cut into small, soft cubes. You can add a thin layer of sugar-free Greek yogurt on top for extra protein and texture variety.
Stage 4: Regular Diet (Week 6+)
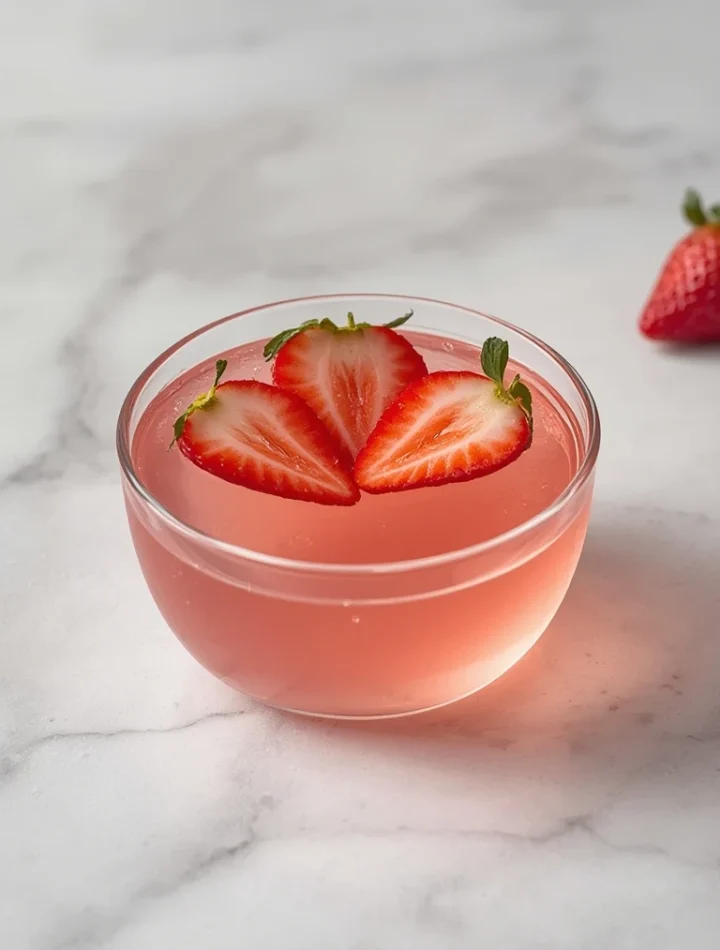
Use as a high-protein snack between meals. Try layering with berries, blending into a gelatin smoothie, or cutting into fun shapes for portion control.
Sara’s Bariatric Gelatin Tests: 3 Protein Sources Compared
I tested this bariatric gelatin recipe nine times over two weeks with three different protein strategies to find the best combination. Here is what actually happened.
Test 1: Whey Protein Isolate
Result: Smooth texture, clean set, mild flavor.
Protein per serving: 16–18 g
Sara’s note: This is the best protein for a bariatric gelatin recipe. The isolate dissolved completely when the gelatin was cooled to the right temperature. Vanilla flavor masked the slight gelatin taste better than unflavored whey.
Test 2: Collagen Peptides
Result: Very smooth, slightly softer set, virtually tasteless.
Protein per serving: 12–14 g (with collagen only; 20+ g if combined with whey)
Sara’s note: Collagen alone is an incomplete protein — it lacks tryptophan. For tissue repair after surgery, pair it with whey isolate rather than using collagen by itself. The texture is silkier though, which some patients prefer.
Test 3: Whey Protein Concentrate
Result: Clumpy, gritty, unpleasant mouthfeel.
Protein per serving: 14 g (in theory; much was lost in clumps)
Sara’s note: Do not use concentrate. The lactose and fat content cause curdling when mixed into warm gelatin. I threw this batch out after one bite.
Bariatric Gelatin Recipe Troubleshooting
Problem: The bariatric gelatin recipe did not set.
Cause: Too much liquid relative to gelatin, or the liquid was too hot and broke the protein bonds.
Fix: Use exactly 2 packets (14 g) gelatin for 3 cups total liquid. Do not exceed 3 cups.
Problem: Bariatric gelatin recipe has grainy or sandy texture.
Cause: Protein powder was added while the gelatin was too hot, or the protein powder was not whisked thoroughly.
Fix: Wait the full 3 minutes before adding protein. Whisk for at least 45 seconds.
Problem: Too firm to eat comfortably.
Cause: Too much gelatin or insufficient liquid.
Fix: Reduce to 1.5 packets gelatin, or increase liquid to 3.5 cups. Early post-op patients need softer textures.
Problem: Metallic or bitter aftertaste.
Cause: Some sugar-free drink mixes contain artificial sweeteners that taste bitter when heated.
Fix: Use herbal tea or unsweetened juice instead of drink mixes. Add stevia after chilling if more sweetness is needed.
Bariatric Gelatin Recipe: Batch Prep and Storage
You can batch-prep this bariatric gelatin recipe for up to 7 days of servings at once. Multiply the recipe by 7, follow the same steps, and portion into 28 small containers. Cover after the first 30 minutes of chilling.
Storage: Refrigerate for up to 4 days. Do not freeze — the texture becomes grainy and watery upon thawing.
Label each container with the date and protein source so you can track what works best for your recovery.
Conclusion
This bariatric gelatin recipe works because it solves the central challenge of post-op recovery: how to get meaningful protein into a body that can only handle soft, small portions. The key details — blooming the gelatin, cooling before adding protein, using isolate instead of concentrate — came from batches that failed so yours does not have to.
I tested this with my dad during his first month post-op. His favorite version was the vanilla whey isolate with sugar-free strawberry water. He ate it twice a day during the full-liquid stage and did not miss the sugar-laden Jell-O from the store at all.
Try it yourself: Start with this bariatric gelatin recipe using the basic whey isolate version, adapt the texture to your stage, and adjust the flavor until it is something you actually look forward to.
Related recipes: See how to bloom unflavored gelatin the right way in our Knox unflavored gelatin guide, or try our GLP-1 friendly gelatin if you are managing blood sugar alongside recovery.

Bariatric Gelatin Recipe for Post-Surgery Recovery
Ingredients
Method
- Sprinkle unflavored gelatin over 1 cup cold water. Let sit 2 minutes without stirring.
- Warm remaining 1 cup water/juice until hot but not boiling.
- Pour hot liquid over bloomed gelatin. Stir 30-45 seconds until completely clear.
- Let mixture cool 3-4 minutes until warm (not hot) to the touch. Critical: hot liquid will clump protein.
- Add whey protein isolate and optional collagen. Whisk vigorously 45+ seconds until smooth and slightly foamy.
- Divide into 4 small containers (½ cup each). Small portions matter after bariatric surgery.
- Refrigerate uncovered 30 min, then cover. Chill at least 4 hours. Ready when firm but breaks easily.
Notes
Bariatric Gelatin Recipe: Frequently Asked Questions
Can I eat bariatric gelatin every day after weight-loss surgery?
Yes, bariatric gelatin is safe to eat daily in the early post-op stages when your options are limited to clear and full liquids. Because homemade bariatric gelatin delivers 14–18 grams of protein per half-cup serving, it is one of the most efficient foods you can have during recovery. Most bariatric dietitians recommend 60–80 grams of protein per day post-op, and two to three servings of bariatric gelatin can contribute 30–54 grams toward that goal.
What protein powder works best in bariatric gelatin?
Whey protein isolate gives the best results in bariatric gelatin. It dissolves smoothly when the gelatin has cooled to a warm (not hot) temperature, sets cleanly, and has a mild flavor. Whey concentrate causes curdling because of its higher lactose and fat content. Collagen peptides are a close second—they create a silkier texture but are an incomplete protein, so pair them with whey isolate for full amino acid coverage after surgery.
How does homemade bariatric gelatin compare to store-bought Jell-O?
Regular Jell-O contains about 1–2 grams of protein per serving and is loaded with sugar or artificial sweeteners. Homemade bariatric gelatin made with whey isolate delivers 14–18 grams of protein per serving with no added sugar. For post-bariatric surgery patients who need to hit protein goals while managing a tiny stomach capacity, the difference is enormous. Store-bought gelatin is essentially flavored water; bariatric gelatin is a functional recovery food.
Is homemade bariatric gelatin safe for Stage 1 clear liquids?
Yes, but with one modification: skip the protein powder during Stage 1 (Days 1–3 post-op). Plain unflavored bariatric gelatin with water and optionally sugar-free flavoring is fully clear-liquid compliant. At this stage, the goal is hydration and gentle stomach healing, not high protein. Once your surgeon clears you for Stage 2 (full liquids, typically Days 4–14), you can add whey protein isolate to your bariatric gelatin recipe.
Why did my bariatric gelatin not set properly?
The most common cause is using too much liquid relative to gelatin. For firm bariatric gelatin, use exactly 2 packets (14 g) of unflavored gelatin per 3 cups of total liquid. A second common cause is overheating—if the liquid is boiling when poured over the gelatin, it degrades the setting proteins. For bariatric gelatin with added whey, protein added while the mixture is still too hot will also prevent a clean set. Cool for 3 full minutes before adding protein powder.
How long does bariatric gelatin last in the refrigerator?
Homemade bariatric gelatin lasts up to 4 days in the refrigerator when stored in covered containers. Do not freeze bariatric gelatin—the ice crystals break the gel structure and the texture becomes grainy and watery after thawing. For batch prep, make a 7-day supply (28 half-cup portions), but plan to eat the last batch by day 4. Label each container with the date so you always know what is still safe to eat during recovery.
Can I make bariatric gelatin without protein powder?
Yes. Plain bariatric gelatin without protein powder is appropriate for Stage 1 (clear liquids) and for anyone with a protein powder intolerance. Plain unflavored gelatin itself contains about 9 grams of protein per 2-packet serving, which comes from the collagen-based gelatin. This is a complete protein source on its own but lower than the 14–18 grams you get by adding whey isolate. If you cannot tolerate protein powder, plain bariatric gelatin is still a far better option than store-bought Jell-O.