
“`html
Table of Contents
- Why Homemade Rustic Bread Rolls?
- Gather Your Rustic Bread Roll Ingredients
- Timing is Everything: Prep, Cook, and Total Time
- Let’s Bake! Step-by-Step Rustic Bread Rolls
- Nutritional Snapshot
- Healthier Twists on Your Rustic Rolls
- Serving Suggestions: Elevate Your Meal
- Avoiding Common Pitfalls
- Keeping Your Rolls Fresh
- Frequently Asked Questions
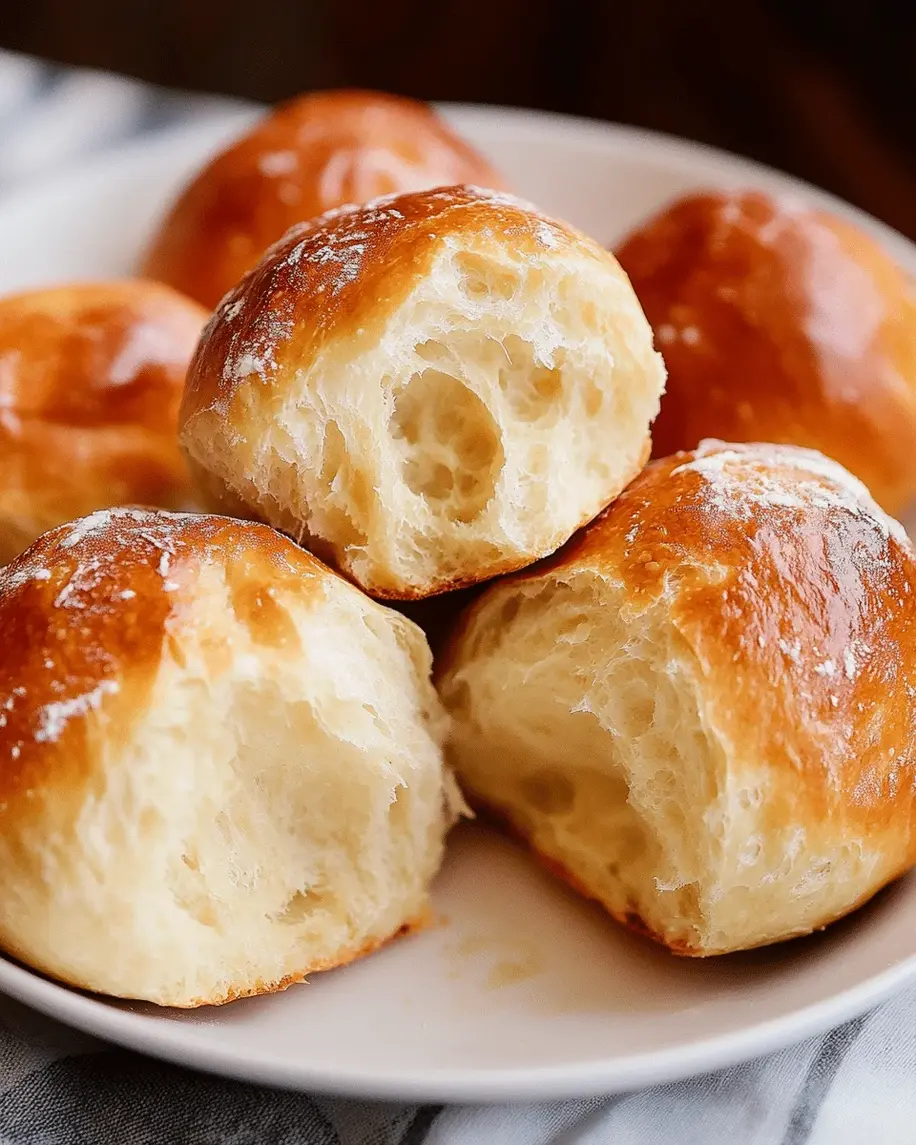
Easy Homemade Rustic Bread Rolls Recipe: A Deliciously Simple Way to Enjoy Fresh Bread at Home
Why Homemade Rustic Bread Rolls?
Did you know that the average person consumes about 150 pounds of bread annually? Yet, so many of us shy away from baking our own bread, believing it’s too complicated or time-consuming. What if I told you that you could turn your kitchen into a warm, inviting bakery and fill it with the intoxicating aroma of freshly baked bread with an incredibly easy recipe? This Easy Homemade Rustic Bread Rolls Recipe is designed for absolute beginners, proving that delicious, crusty bread is well within your reach. Forget the store-bought loaves that lack soul and embrace the satisfaction of crafting these delightful rolls from scratch. They’re perfect companions to soups, stews, or simply slathered with butter.
Gather Your Rustic Bread Roll Ingredients
The beauty of rustic bread rolls lies in their simplicity, using just a handful of pantry staples. Here’s what you’ll need:
The Foundation: Flour
Type: 3 cups (about 360g) All-Purpose Flour, plus more for dusting.
Sensory Description: A fine, powdery white substance that forms the structure of our bread. It should smell neutral and clean.
Substitution: For a slightly heartier roll, you can use 2.5 cups of all-purpose flour and 0.5 cup of whole wheat flour. The texture will be a bit denser but equally delicious.
The Magic: Yeast
Type: 2 ¼ teaspoons (1 packet) Active Dry Yeast or Instant Yeast.
Sensory Description: Tiny, dormant granules that, when awakened with warmth and moisture, release the carbon dioxide that makes our bread rise, bringing a subtle yeasty aroma.
Substitution: If using fresh yeast, you’ll need about 0.6 ounces (17g) – crumble it directly into the warm liquid.
The Binder: Warm Water
Amount: 1 cup (240ml) Warm Water (around 105-115°F or 40-46°C).
Sensory Description: It should feel comfortably warm to the touch, not hot. This temperature is crucial for activating the yeast without killing it. The water is the lifeblood of the dough.
Substitution: You can use warm milk for a softer, richer roll, but it might alter the rise slightly.
A Touch of Sweetness: Honey or Sugar
Amount: 1 tablespoon Honey or Granulated Sugar.
Sensory Description: A golden, viscous liquid (honey) or fine white crystals (sugar) that provides a subtle sweetness and, more importantly, feeds the yeast, giving it something to metabolize for a better rise.
Substitution: Maple syrup can also be used for a different flavor profile.
Richness and Tenderness: Olive Oil or Butter
Amount: 2 tablespoons Olive Oil or Melted Unsalted Butter.
Sensory Description: A liquid gold or a creamy, rich fat that tenderizes the crumb and adds a subtle richness and a delightful mouthfeel.
Substitution: Coconut oil (melted) or another neutral vegetable oil can work in a pinch.
Flavor Enhancer: Salt
Amount: 1 teaspoon Salt.
Sensory Description: Fine white crystals that are essential for flavor and also help control yeast activity, ensuring a balanced rise and a delicious, well-seasoned crust.
Substitution: Sea salt or Himalayan pink salt can be used interchangeably.
Timing is Everything: Prep, Cook, and Total Time
Cook time: 15-20 minutes
Total time: Approximately 2 hours (including rising)
Let’s Bake! Step-by-Step Rustic Bread Rolls
Step 1: Activate the Yeast
In a small bowl or the bowl of your stand mixer, combine the warm water, honey (or sugar), and yeast. Give it a gentle stir. Let it sit for 5-10 minutes. You should see the mixture become foamy and bubbly on top. This is called “blooming,” and it means your yeast is alive and ready to work its magic!
Step 2: Mix the Dry Ingredients
In a large mixing bowl, whisk together the all-purpose flour and salt. This ensures the salt is evenly distributed, which is important for flavor and controlling the yeast.
Step 3: Combine Wet and Dry Ingredients
Once your yeast mixture is bloomed, add the olive oil (or melted butter) to it. Pour this wet mixture into the bowl with the dry ingredients. If using a stand mixer, use the dough hook attachment. If mixing by hand, use a sturdy spoon or spatula.
Step 4: Knead the Dough
Stand Mixer: Mix on low speed until the ingredients just come together, then increase the speed to medium and knead for about 5-7 minutes. The dough should become smooth, elastic, and pull away from the sides of the bowl.
By Hand: Turn the dough out onto a lightly floured surface. Knead by pushing the dough away from you with the heel of your hand, then folding it back over itself. Rotate and repeat for about 8-10 minutes, until the dough is smooth and elastic. Don’t be afraid to add a tiny bit more flour if the dough is too sticky, but try to keep it as soft as possible.
Step 5: The First Rise (Proofing)
Lightly grease a clean bowl with a little oil. Place the kneaded dough into the bowl, turning it once to coat all sides. Cover the bowl tightly with plastic wrap or a clean kitchen towel. Place it in a warm, draft-free spot to rise for about 1 to 1.5 hours, or until it has doubled in size.
Step 6: Shape the Rustic Rolls
Gently punch down the risen dough to release the air. Turn it out onto a lightly floured surface. Divide the dough into 12 equal pieces. For each piece, gently round it into a ball by tucking the edges underneath to create tension on the surface. You can also shape them into traditional round rolls or slightly oblong rustic shapes. Place the shaped rolls onto a baking sheet lined with parchment paper, leaving a little space between them.
Step 7: The Second Rise
Loosely cover the shaped rolls with plastic wrap or a clean kitchen towel. Let them rest in a warm place for another 30-45 minutes, or until they’ve puffed up and look almost doubled. Preheat your oven to 400°F (200°C) during the last 15 minutes of their second rise.
Step 8: Preheat Your Oven
Make sure your oven is fully preheated to 400°F (200°C). A properly preheated oven is key for that beautiful, crisp crust.
Step 9: Bake the Bread Rolls
Once preheated, place the baking sheet into the oven. Bake for 15-20 minutes, or until the rolls are golden brown on top and sound hollow when tapped on the bottom. For an extra shiny crust, you can brush them with a little melted butter or an egg wash right before baking.
Step 10: Cool and Enjoy!
Remove the bread rolls from the oven and transfer them to a wire rack to cool. This prevents the bottoms from becoming soggy. Resist the urge to cut into them immediately – letting them cool slightly allows the internal structure to set.
Nutritional Snapshot
Per roll (approximate, yields 12 rolls):
- Calories: 150-180 kcal
- Protein: 4-5g
- Fat: 4-6g
- Carbohydrates: 25-30g
- Fiber: 1-2g
Note: Nutritional values can vary based on exact ingredients and portion sizes.
Healthier Twists on Your Rustic Rolls
Looking for ways to make these even healthier without sacrificing flavor? Try these simple swaps:
- Whole Wheat Flour: Replace up to half of the all-purpose flour with whole wheat flour for added fiber and nutrients. The rolls might be slightly denser.
- Reduced Fat: If using butter, consider reducing the amount slightly or opting for a light olive oil.
- Natural Sweeteners: Stick with honey or maple syrup instead of refined sugar.
- Seed Topping: Sprinkle a mix of sesame, poppy, or flax seeds on top before the second rise for extra texture and healthy fats.
Serving Suggestions: Elevate Your Meal
These rustic bread rolls are incredibly versatile. Here are a few ideas:
- With Soup or Stew: The classic pairing! Perfect for soaking up every last drop of broth.
- Toasted with Butter: A simple pleasure. Slice in half, toast until golden, and slather with your favorite butter.
- As a Sandwich Base: Their sturdy yet soft texture makes them ideal for mini sandwiches or sliders.
- Garlic Bread Rolls: Brush with melted garlic butter and herbs before a final bake for a flavor explosion.
Avoiding Common Pitfalls
Even with an easy recipe, a few common mistakes can throw off your bread-baking game:
- Water Temperature: Too hot will kill the yeast; too cool will prevent it from activating properly. Aim for lukewarm.
- Under/Over Kneading: Under-kneading results in dense bread; over-kneading can make it tough. Aim for that smooth, elastic stage.
- Insufficient Rising: Don’t rush the proofing stages. The dough needs time to develop flavor and texture.
- Oven Temperature: An inaccurately calibrated oven can lead to burnt exteriors and raw interiors. Use an oven thermometer if you’re unsure.
Keeping Your Rolls Fresh
For best results, enjoy these rolls the day they are baked. If you have leftovers:
- Room Temperature: Store in an airtight container or bread bag at room temperature for up to 2-3 days. They might become a bit softer.
- Freezing: Cool completely, then wrap tightly in plastic wrap and then in foil or a freezer bag. Freeze for up to 2 months. Reheat in a 350°F (175°C) oven for 10-15 minutes until warm and crusty again.

Frequently Asked Questions
***Is it okay to use milk instead of water?***
Yes, you can use warm milk instead of water for a richer, softer crumb. It might affect the rise slightly, so monitor your dough.
***My dough is too sticky, what should I do?***
Add flour a tablespoon at a time while kneading until the dough is no longer excessively sticky but still soft. Avoid adding too much, which can make the rolls tough.
***Can I make these rolls ahead of time?***
You can prepare the dough and let it do its first rise in the refrigerator overnight. In the morning, shape and proceed with the second rise and baking. This develops deeper flavor!
***What is the best way to get a crispy crust?***
Preheat your oven thoroughly. Some bakers also create steam in the oven by placing a pan of hot water on the bottom rack while the bread bakes, or by spraying the oven walls with water just before placing the bread inside (be careful of steam!).
***Why did my bread rolls not rise?***
This is usually due to dead yeast (expired or killed by hot liquid), not enough rising time, or a drafty, cold environment for proofing.
Baking bread can be incredibly rewarding. Give this easy rustic bread roll recipe a try and experience the joy of fresh, homemade bread right from your own oven! We’d love to hear how they turned out in the comments below!
Easy Homemade Rustic Bread Rolls Recipe: A Deliciously Simple Way to Enjoy Fresh Bread at Home

Learn how to make easy homemade rustic bread rolls with this simple recipe. Perfect for beginners and delicious for all!
Ingredients
- 4 cupsbread flour, plus extra for shaping
- 2 teaspoonskosher salt
- 1 teaspoonactive dry yeast
- 2 cupsroom-temperature tap water
Instructions
- In a medium-large bowl, whisk together bread flour, salt, and yeast. Create a well in the center and pour in the water. Mix with a sturdy rubber spatula until the flour is fully incorporated. The dough will be wet and sticky—this is normal.
- Cover the bowl with plastic wrap and allow the dough to rise at room temperature for 10 to 12 hours.
- After rising, the dough will be bubbly and shaggy in appearance.
- Line a sheet pan with parchment paper and preheat the oven to 425°F.
- Generously sprinkle ¼ cup of flour on a clean surface. Dump the dough onto the floured surface and gently fold it over several times to coat it in the flour. Use a bench scraper if necessary.
- Divide the dough into 12 to 16 equal pieces, turning each piece in flour to coat. Shape each piece into a ball by pulling the edges underneath and pinching them together, ensuring the top is smooth. Place the balls on the prepared pan, pinched side up, for a rustic, craggy look.
- Let the rolls rise for 20 minutes. They may look a bit deflated but will puff up beautifully once baked.
- Bake for 15 minutes, then rotate the pan and bake for another 5 minutes or until the rolls are golden brown. Remove from the oven and let them cool on a cooling rack.
- Details:
- For advance preparation, remove the rolls from the oven a few minutes before they reach golden brown (about 3-4 minutes early). Allow them to cool completely, then freeze on a baking sheet. Once frozen, transfer them to a zip lock bag. When ready to serve, thaw and heat for 10-12 minutes at 325°F.
“`
Leave a Reply