“`html
Table of Contents
- Introduction: The Timeless Allure of Old-Fashioned Fudge
- Ingredients: The Heart of Your Creamy Delight
- Timing: Crafting Sweet Perfection
- Step-by-Step Instructions
- Nutritional Information: A Sweet Indulgence
- Healthier Alternatives: Indulge Mindfully
- Serving Suggestions: Elevating Your Fudge Experience
- Common Mistakes and How to Avoid Them
- Storing Your Precious Fudge
- Conclusion: A Taste of Nostalgia
- Frequently Asked Questions: Fudge Clarified
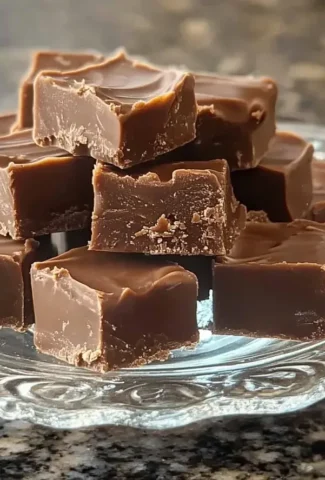
Old Fashioned Fudge Recipe – Timeless and Delicious
Introduction: The Timeless Allure of Old-Fashioned Fudge
Did you know that, according to historical records, fudge originated in the late 19th century and was initially a “fudged” batch of caramels, proving that happy accidents can lead to delicious discoveries? The allure of old-fashioned fudge is undeniable, a creamy, rich, melt-in-your-mouth confection that evokes warmth, nostalgia, and pure indulgence. In a world of modern dessert innovations, there’s a special charm in mastering a classic. This recipe takes you back to basics, guiding you through a traditional method to create fudge that’s both timeless and utterly delicious. Perfect for holidays, special occasions, or simply when you crave a taste of pure comfort, this recipe is your gateway to fudge-making mastery.
Ingredients: The Heart of Your Creamy Delight
The magic of old-fashioned fudge lies in its simplicity and the quality of its ingredients. Each component plays a vital role in achieving that signature smooth texture and deep flavor. Here’s what you’ll need:
Sugar: The Sweet Foundation
Granulated Sugar: 3 cups. This is the backbone of your fudge, providing sweetness and structure. Look for a good quality granulated sugar that dissolves cleanly.
Butter: For Velvety Richness
Unsalted Butter: 3 tablespoons, cut into pieces. Unsalted butter allows you to control the saltiness. The fat content contributes to the incredibly smooth and rich mouthfeel.
Milk or Cream: The Emulsifier
Evaporated Milk: 1 can (12 oz). Evaporated milk is crucial because its concentrated nature contributes to a denser, creamier texture and prevents the sugar from crystallizing too easily. You can substitute with whole milk or heavy cream, but the texture might be slightly softer.
Cocoa Powder: The Deep Chocolate Essence
Unsweetened Cocoa Powder: 2/3 cup. Use a good quality unsweetened cocoa powder for the best chocolate flavor. Dutch-processed cocoa powder will give a smoother, less acidic taste and a darker color. Natural cocoa powder will yield a slightly more intense, fruity chocolate note.
Vanilla Extract: The Aromatic Enhancer
Pure Vanilla Extract: 1 teaspoon. A good quality vanilla extract rounds out the chocolate flavor beautifully and adds a delightful aroma. Don’t skimp on this; artificial vanilla can taste metallic.
Salt: To Balance
Salt: 1/4 teaspoon. A pinch of salt is essential to balance the sweetness and enhance the overall chocolate flavor. Fine sea salt or kosher salt works best.
Optional Add-ins
Nuts: 1 cup chopped walnuts or pecans, toasted (optional). For added texture and nutty flavor.
Marshmallow Creme: 1 jar (7 oz) or 1 cup mini marshmallows (optional). This adds an extra layer of creamy smoothness and sweetness, often found in “divinity” style fudge.
Timing: Crafting Sweet Perfection
Compared to many modern, no-bake fudge recipes that take minutes, this old-fashioned method requires a bit more attention to timing and temperature. The cooking process is critical for achieving the right crystalline structure, and the cooling stage is just as important for texture. While the active time might be around 40 minutes, expect several hours for cooling before slicing.
Step-by-Step Instructions
Patience and precision are your best friends when making old-fashioned fudge. Follow these steps carefully, and you’ll be rewarded with a truly exceptional treat.
Step 1: Prep Your Pan
Line an 8×8 inch square baking pan with parchment paper, leaving an overhang on two opposite sides. This overhang will act as handles to lift the fudge out easily. Lightly grease the parchment paper with butter or non-stick cooking spray for extra insurance. Set aside.
Step 2: Combine and Dissolve
In a heavy-bottomed saucepan (this is key to prevent scorching), combine the granulated sugar, cocoa powder, and evaporated milk. Whisk them together until the cocoa is fully incorporated and there are no dry lumps. Add the pieces of butter and salt.
Step 3: The Boil Begins
Place the saucepan over medium heat. Stir continuously until the butter has melted and the sugar has dissolved. Once dissolved (you shouldn’t feel any grittiness when you rub a little between your fingers), stop stirring and bring the mixture to a rolling boil. A rolling boil is one that cannot be stirred down.
Step 4: Reaching the Soft-Ball Stage
Once the mixture reaches a rolling boil, clip a candy thermometer to the side of the pan, ensuring the bulb is submerged in the mixture but not touching the bottom. Cook, *without stirring*, until the thermometer registers 238°F (114°C) on the candy thermometer. This is the soft-ball stage. This typically takes about 10-15 minutes after the initial boil, depending on your stove. If you don’t have a thermometer, a drop of the candy in cold water will form a soft, pliable ball.
Step 5: Cooling: The Crucial Wait
Once the fudge reaches the soft-ball stage, immediately remove the saucepan from the heat. Place the pan on a heat-resistant surface but *do not stir or scrape the pan*. Let the mixture cool undisturbed until it reaches about 110-115°F (43-46°C). This cooling process is critical for the fudge’s texture; it allows the sugar crystals to form properly. This can take anywhere from 30 minutes to 1.5 hours, depending on the ambient temperature. You can test by touching the outside of the pan; it should feel lukewarm, not hot.
Step 6: Beating the Magic
Once the fudge mixture has cooled to the desired temperature, it’s time for the magic! Add the vanilla extract and any optional add-ins like nuts or marshmallow creme. Now, you need to “beat” the fudge. You can do this with a wooden spoon or an electric mixer on low speed. Beat the mixture constantly. You’ll notice it start to lose its glossy sheen and become thicker and duller, with a fudgy consistency. This is the crystallisation process happening correctly. Continue beating until it thickens considerably and starts to pull away from the sides of the pan or becomes too stiff to beat easily.
Step 7: Pour and Set
Working quickly once you’ve reached the right consistency, pour the fudge into your prepared pan. Use a spatula to spread it evenly into the corners. If you added nuts, gently press them into the surface if desired. Let the fudge cool completely at room temperature for at least 2-4 hours, or until firm to the touch. Do not refrigerate, as this can make the fudge greasy or chalky.
Nutritional Information: A Sweet Indulgence
Please note that nutritional information can vary based on exact ingredients and portion sizes. This is an approximate estimate per serving (assuming 16 servings from an 8×8 pan):
- Calories: ~250-300 kcal
- Fat: ~10-15g
- Carbohydrates: ~40-50g
- Sugar: ~35-45g
- Protein: ~2-4g
Healthier Alternatives: Indulge Mindfully
While the classic recipe is hard to beat, you can make mindful adjustments:
- Reduced Sugar: Try using coconut sugar or a sugar substitute specifically designed for baking, though this may alter texture and taste. A common swap is reducing the sugar slightly and supplementing with unsweetened applesauce or date paste for moisture and slight sweetness, but this will change the classic fudge texture significantly.
- Dairy-Free: Use full-fat coconut milk or a dairy-free evaporated milk alternative. Ensure your butter is replaced with a vegan butter substitute.
- Darker Chocolate: Use a higher quality cocoa powder with a more intense flavor to satisfy your chocolate craving with fewer pieces.
- Portion Control: The best way to indulge mindfully is to simply enjoy a smaller piece!
Serving Suggestions: Elevating Your Fudge Experience
Old-fashioned fudge is delicious on its own, but here are a few ideas to make it even more special:
- Serve a small square alongside a warm cup of coffee or tea.
- Offer it on a dessert platter during holidays or parties.
- Present it as a thoughtful homemade gift tied with a festive ribbon.
- Drizzle with melted dark chocolate or sprinkle with sea salt flakes just before it sets for an extra touch of elegance.
Common Mistakes and How to Avoid Them
- Crystallization (Grit): Ensure your sugar is fully dissolved before boiling. Avoid stirring the mixture once it reaches a boil.
- Too Soft/Too Hard: Accurate temperature is crucial. Use a reliable candy thermometer and ensure you reach the soft-ball stage (238°F/114°C). Overcooking leads to hard candy; undercooking leads to soft, sticky fudge.
- Scorched Fudge: Use a heavy-bottomed saucepan to distribute heat evenly. Stir often during the initial melting and dissolving stage.
- Grainy Texture: This is often due to premature crystallization. Proper cooling before beating is key.
Storing Your Precious Fudge
To keep your fudge tasting as fresh and delicious as possible:
- Room Temperature: Store fudge in an airtight container at cool room temperature for up to 2 weeks. Layer pieces with parchment paper to prevent sticking.
- Avoid Moisture: Do not refrigerate fudge, as condensation can make it sticky or chalky.
- Freezing: For longer storage, wrap individual pieces tightly in plastic wrap, then place in a freezer-safe bag or container. Freeze for up to 3 months. Thaw at room temperature.
Conclusion: A Taste of Nostalgia
There’s something incredibly rewarding about creating homemade old-fashioned fudge. It’s more than just a dessert; it’s a connection to tradition, a labor of love, and a guaranteed crowd-pleaser. The rich, creamy texture and deep chocolate flavor are simply unparalleled. This recipe, while traditional, has been streamlined for the home baker. Don’t be intimidated by the candy thermometer; it’s your best friend in achieving fudge perfection. So gather your ingredients, set aside some time, and prepare to bake your way into a piece of delicious history. What memories will your homemade fudge bring back? Share your fudge-making adventures with us in the comments below!
Frequently Asked Questions: Fudge Clarified
***Can I make this fudge without a candy thermometer?***
Yes, you can! If you don’t have a thermometer, you’ll need to use the cold-water test. Once the mixture reaches a vigorous boil, drop a small spoonful into a glass of ice-cold water. If it forms a soft, pliable ball that flattens when you remove it from the water, it’s ready. This method requires practice and can be less precise than using a thermometer.
***Why is my fudge grainy?***
Graininess is usually a sign of sugar crystallization. This can happen if the sugar wasn’t fully dissolved initially, if you stirred the mixture while it was boiling, or if it wasn’t cooled sufficiently before being beaten. Proper technique and patience are key to smooth fudge.
***My fudge is too soft/won’t set up. What went wrong?***
This is typically due to not cooking the fudge to the correct temperature. It needs to reach the soft-ball stage (238°F/114°C). If you pull it off the heat too early, it won’t set up properly. Ensure your thermometer is accurate and calibrated.
***Can I use different types of milk?***
While evaporated milk is recommended for its concentrated nature and smooth texture, you can use whole milk or half-and-half in a pinch. However, these may result in a slightly softer or less dense final product. Avoid skim milk, as the fat content is crucial for richness and texture.
***How long does it take to cool before beating?***
This is a crucial step often skipped. The mixture needs to cool undisturbed to around 110-115°F (43-46°C). This can take anywhere from 30 minutes to over an hour. The cooling allows for controlled crystallization, which is essential for the texture. Don’t rush this part!
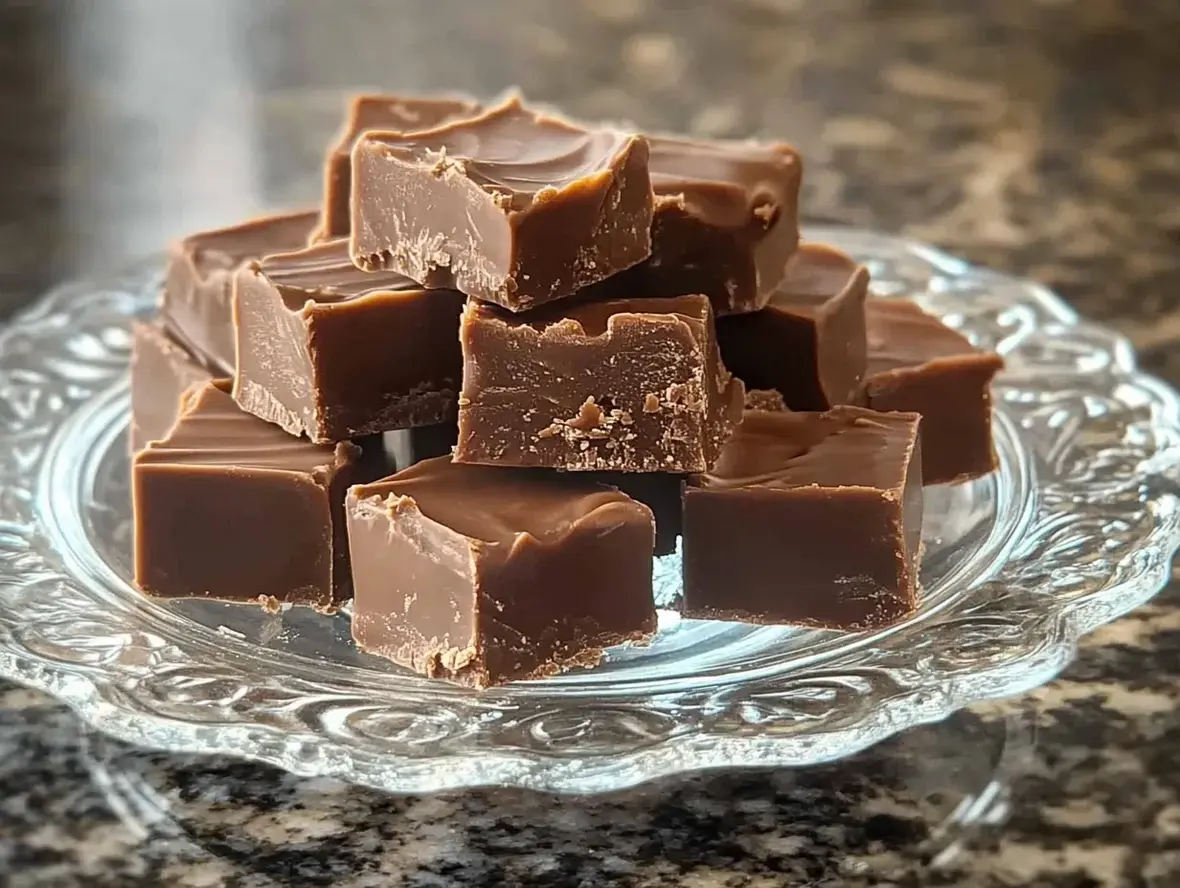
PrintOld-Fashioned Chocolate Fudge
This rich andcreamy chocolate fudgeis a timeless treat. Perfect for holidays, gift-giving, or satisfying your sweet tooth, it’s made with simple ingredients and a whole lot of love!
Ingredients
- 1 cupWhole Milk1 tspVanilla Extract4 tbspUnsalted Butter, softened and sliced2 cupsGranulated White Sugar½ cupUnsweetened Cocoa Powder
- 1 tspVanilla Extract4 tbspUnsalted Butter, softened and sliced2 cupsGranulated White Sugar½ cupUnsweetened Cocoa Powder
- 4 tbspUnsalted Butter, softened and sliced2 cupsGranulated White Sugar½ cupUnsweetened Cocoa Powder
- 2 cupsGranulated White Sugar½ cupUnsweetened Cocoa Powder
- ½ cupUnsweetened Cocoa Powder
Instructions
- 1️⃣Gather your ingredients:Assemble all ingredients to ensure a smooth cooking process.2️⃣Prepare the pan:Liberally grease an 8-inch square baking dish to prevent sticking. Set aside.3️⃣Mix the base:In a medium saucepan, combine the granulated sugar and cocoa powder. Stir in the milk until the mixture is smooth and uniform.4️⃣Heat the mixture:Heat the mixture over medium-high heat, stirring constantly, until it comes to a rolling boil.5️⃣Simmer and monitor:Reduce the heat to a gentle simmer. Insert a candy thermometer and let the mixture cook undisturbed until it reaches 238°F (114°C), about 10 minutes.No thermometer?Perform the water test: drop a small amount of the mixture into cold water. If it forms a soft ball that flattens when pressed, it’s ready.6️⃣Cool the mixture:Remove the saucepan from heat and let it cool to 110°F (43°C). This will take about 50-70 minutes. Do not stir during this cooling phase.7️⃣Incorporate butter and vanilla:Once cooled, add the softened butter and vanilla extract. Beat the mixture vigorously with a wooden spoon until it thickens and loses its glossy shine.8️⃣Pour and shape:Transfer the fudge mixture into the greased pan. Spread it evenly using a spatula or your hands.9️⃣Cool and cut:Let the fudge cool completely at room temperature or in the fridge. Once set, cut into 1-inch squares.
- Assemble all ingredients to ensure a smooth cooking process.
- 2️⃣Prepare the pan:Liberally grease an 8-inch square baking dish to prevent sticking. Set aside.3️⃣Mix the base:In a medium saucepan, combine the granulated sugar and cocoa powder. Stir in the milk until the mixture is smooth and uniform.4️⃣Heat the mixture:Heat the mixture over medium-high heat, stirring constantly, until it comes to a rolling boil.5️⃣Simmer and monitor:Reduce the heat to a gentle simmer. Insert a candy thermometer and let the mixture cook undisturbed until it reaches 238°F (114°C), about 10 minutes.No thermometer?Perform the water test: drop a small amount of the mixture into cold water. If it forms a soft ball that flattens when pressed, it’s ready.6️⃣Cool the mixture:Remove the saucepan from heat and let it cool to 110°F (43°C). This will take about 50-70 minutes. Do not stir during this cooling phase.7️⃣Incorporate butter and vanilla:Once cooled, add the softened butter and vanilla extract. Beat the mixture vigorously with a wooden spoon until it thickens and loses its glossy shine.8️⃣Pour and shape:Transfer the fudge mixture into the greased pan. Spread it evenly using a spatula or your hands.9️⃣Cool and cut:Let the fudge cool completely at room temperature or in the fridge. Once set, cut into 1-inch squares.
- Liberally grease an 8-inch square baking dish to prevent sticking. Set aside.3️⃣Mix the base:In a medium saucepan, combine the granulated sugar and cocoa powder. Stir in the milk until the mixture is smooth and uniform.4️⃣Heat the mixture:Heat the mixture over medium-high heat, stirring constantly, until it comes to a rolling boil.5️⃣Simmer and monitor:Reduce the heat to a gentle simmer. Insert a candy thermometer and let the mixture cook undisturbed until it reaches 238°F (114°C), about 10 minutes.No thermometer?Perform the water test: drop a small amount of the mixture into cold water. If it forms a soft ball that flattens when pressed, it’s ready.6️⃣Cool the mixture:Remove the saucepan from heat and let it cool to 110°F (43°C). This will take about 50-70 minutes. Do not stir during this cooling phase.7️⃣Incorporate butter and vanilla:Once cooled, add the softened butter and vanilla extract. Beat the mixture vigorously with a wooden spoon until it thickens and loses its glossy shine.8️⃣Pour and shape:Transfer the fudge mixture into the greased pan. Spread it evenly using a spatula or your hands.9️⃣Cool and cut:Let the fudge cool completely at room temperature or in the fridge. Once set, cut into 1-inch squares.
- 3️⃣Mix the base:
- In a medium saucepan, combine the granulated sugar and cocoa powder. Stir in the milk until the mixture is smooth and uniform.4️⃣Heat the mixture:Heat the mixture over medium-high heat, stirring constantly, until it comes to a rolling boil.5️⃣Simmer and monitor:Reduce the heat to a gentle simmer. Insert a candy thermometer and let the mixture cook undisturbed until it reaches 238°F (114°C), about 10 minutes.No thermometer?Perform the water test: drop a small amount of the mixture into cold water. If it forms a soft ball that flattens when pressed, it’s ready.6️⃣Cool the mixture:Remove the saucepan from heat and let it cool to 110°F (43°C). This will take about 50-70 minutes. Do not stir during this cooling phase.7️⃣Incorporate butter and vanilla:Once cooled, add the softened butter and vanilla extract. Beat the mixture vigorously with a wooden spoon until it thickens and loses its glossy shine.8️⃣Pour and shape:Transfer the fudge mixture into the greased pan. Spread it evenly using a spatula or your hands.9️⃣Cool and cut:Let the fudge cool completely at room temperature or in the fridge. Once set, cut into 1-inch squares.
- 4️⃣Heat the mixture:Heat the mixture over medium-high heat, stirring constantly, until it comes to a rolling boil.5️⃣Simmer and monitor:Reduce the heat to a gentle simmer. Insert a candy thermometer and let the mixture cook undisturbed until it reaches 238°F (114°C), about 10 minutes.No thermometer?Perform the water test: drop a small amount of the mixture into cold water. If it forms a soft ball that flattens when pressed, it’s ready.6️⃣Cool the mixture:Remove the saucepan from heat and let it cool to 110°F (43°C). This will take about 50-70 minutes. Do not stir during this cooling phase.7️⃣Incorporate butter and vanilla:Once cooled, add the softened butter and vanilla extract. Beat the mixture vigorously with a wooden spoon until it thickens and loses its glossy shine.8️⃣Pour and shape:Transfer the fudge mixture into the greased pan. Spread it evenly using a spatula or your hands.9️⃣Cool and cut:Let the fudge cool completely at room temperature or in the fridge. Once set, cut into 1-inch squares.
- Heat the mixture over medium-high heat, stirring constantly, until it comes to a rolling boil.
- 5️⃣Simmer and monitor:Reduce the heat to a gentle simmer. Insert a candy thermometer and let the mixture cook undisturbed until it reaches 238°F (114°C), about 10 minutes.No thermometer?Perform the water test: drop a small amount of the mixture into cold water. If it forms a soft ball that flattens when pressed, it’s ready.6️⃣Cool the mixture:Remove the saucepan from heat and let it cool to 110°F (43°C). This will take about 50-70 minutes. Do not stir during this cooling phase.7️⃣Incorporate butter and vanilla:Once cooled, add the softened butter and vanilla extract. Beat the mixture vigorously with a wooden spoon until it thickens and loses its glossy shine.8️⃣Pour and shape:Transfer the fudge mixture into the greased pan. Spread it evenly using a spatula or your hands.9️⃣Cool and cut:Let the fudge cool completely at room temperature or in the fridge. Once set, cut into 1-inch squares.
- Reduce the heat to a gentle simmer. Insert a candy thermometer and let the mixture cook undisturbed until it reaches 238°F (114°C), about 10 minutes.No thermometer?Perform the water test: drop a small amount of the mixture into cold water. If it forms a soft ball that flattens when pressed, it’s ready.6️⃣Cool the mixture:Remove the saucepan from heat and let it cool to 110°F (43°C). This will take about 50-70 minutes. Do not stir during this cooling phase.7️⃣Incorporate butter and vanilla:Once cooled, add the softened butter and vanilla extract. Beat the mixture vigorously with a wooden spoon until it thickens and loses its glossy shine.8️⃣Pour and shape:Transfer the fudge mixture into the greased pan. Spread it evenly using a spatula or your hands.9️⃣Cool and cut:Let the fudge cool completely at room temperature or in the fridge. Once set, cut into 1-inch squares.
- No thermometer?Perform the water test: drop a small amount of the mixture into cold water. If it forms a soft ball that flattens when pressed, it’s ready.
- 6️⃣Cool the mixture:Remove the saucepan from heat and let it cool to 110°F (43°C). This will take about 50-70 minutes. Do not stir during this cooling phase.7️⃣Incorporate butter and vanilla:Once cooled, add the softened butter and vanilla extract. Beat the mixture vigorously with a wooden spoon until it thickens and loses its glossy shine.8️⃣Pour and shape:Transfer the fudge mixture into the greased pan. Spread it evenly using a spatula or your hands.9️⃣Cool and cut:Let the fudge cool completely at room temperature or in the fridge. Once set, cut into 1-inch squares.
- Remove the saucepan from heat and let it cool to 110°F (43°C). This will take about 50-70 minutes. Do not stir during this cooling phase.7️⃣Incorporate butter and vanilla:Once cooled, add the softened butter and vanilla extract. Beat the mixture vigorously with a wooden spoon until it thickens and loses its glossy shine.8️⃣Pour and shape:Transfer the fudge mixture into the greased pan. Spread it evenly using a spatula or your hands.9️⃣Cool and cut:Let the fudge cool completely at room temperature or in the fridge. Once set, cut into 1-inch squares.
- 7️⃣Incorporate butter and vanilla:
- Once cooled, add the softened butter and vanilla extract. Beat the mixture vigorously with a wooden spoon until it thickens and loses its glossy shine.8️⃣Pour and shape:Transfer the fudge mixture into the greased pan. Spread it evenly using a spatula or your hands.9️⃣Cool and cut:Let the fudge cool completely at room temperature or in the fridge. Once set, cut into 1-inch squares.
- 8️⃣Pour and shape:Transfer the fudge mixture into the greased pan. Spread it evenly using a spatula or your hands.9️⃣Cool and cut:Let the fudge cool completely at room temperature or in the fridge. Once set, cut into 1-inch squares.
- Transfer the fudge mixture into the greased pan. Spread it evenly using a spatula or your hands.
- 9️⃣Cool and cut:Let the fudge cool completely at room temperature or in the fridge. Once set, cut into 1-inch squares.
- Let the fudge cool completely at room temperature or in the fridge. Once set, cut into 1-inch squares.
Notes
For extra flavor, mix in chopped nuts or mini marshmallows before pouring the fudge into the pan.Store fudge in an airtight container at room temperature for up to a week, or refrigerate for longer freshness.Be patient while beating—this step is crucial for achieving the perfect texture!
Store fudge in an airtight container at room temperature for up to a week, or refrigerate for longer freshness.Be patient while beating—this step is crucial for achieving the perfect texture!
Be patient while beating—this step is crucial for achieving the perfect texture!
“`
Leave a Reply