“`html
Table of Contents
- Why This Recipe Reigns Supreme
- The Heart of the Cookie: Ingredients You’ll Need
- Timing is Everything
- Crafting Your Dream Cookie: Step-by-Step
- Step 1: Preheat & Prep Your Baking Station
- Step 2: Whisk Together the Dry Ingredients
- Step 3: Cream the Butter and Sugars to Perfection
- Step 4: Incorporate the Eggs and Vanilla
- Step 5: Gradually Add the Dry to the Wet
- Step 6: Fold in the Chocolate Chips
- Step 7: Chill the Dough (Crucial for Texture!)
- Step 8: Bake to Golden Perfection
- Step 9: Cool and Enjoy
- Nutritional Highlights (Per Cookie, Approximately)
- Healthier Swaps for Guilt-Free Indulgence
- Serving Suggestions: Elevate Your Cookie Experience
- Common Mistakes to Avoid
- Storing Your Delicious Dough and Baked Goods
- Conclusion: Bake On, Cookie Champion!
- Frequently Asked Questions
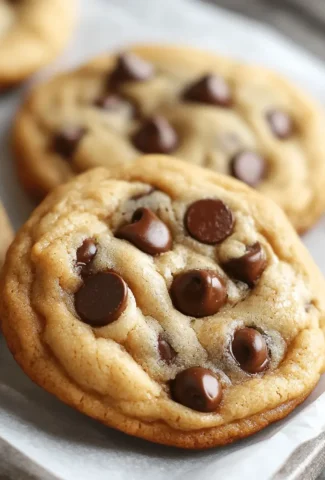
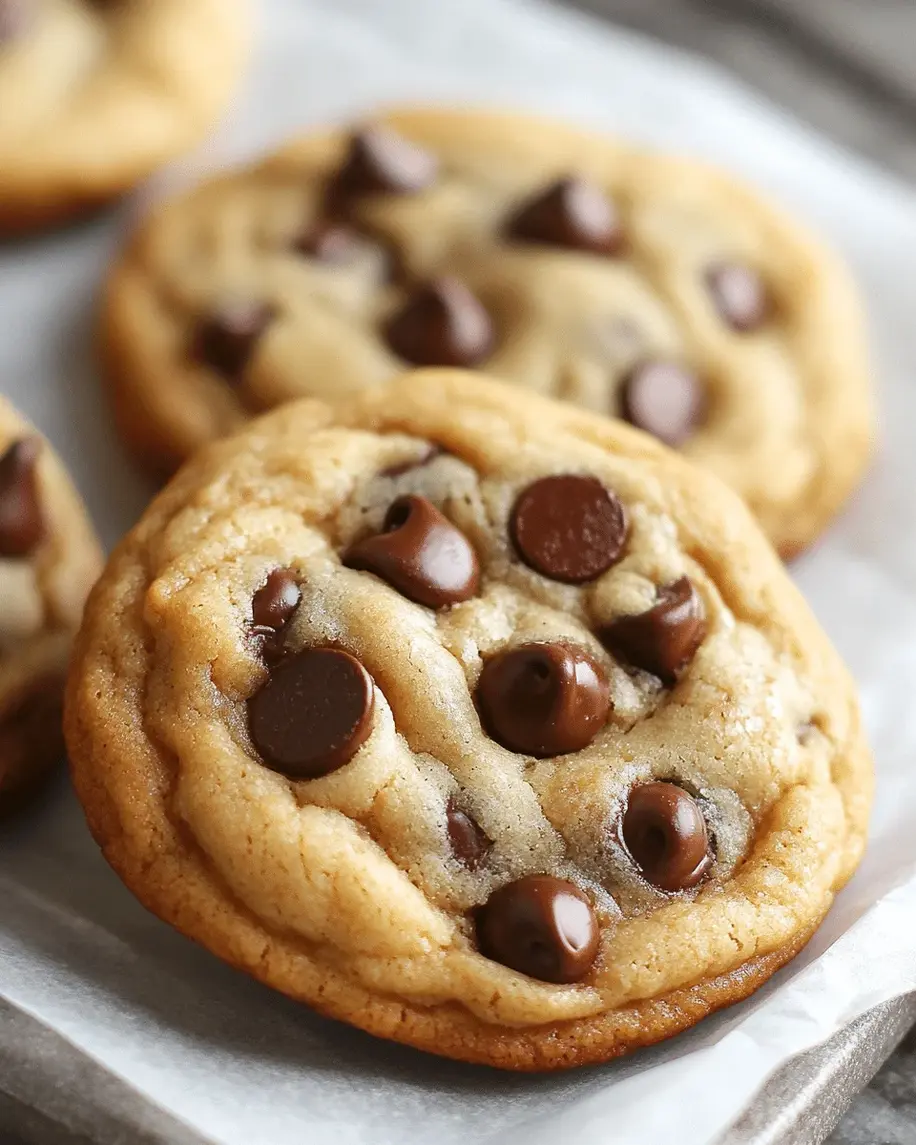
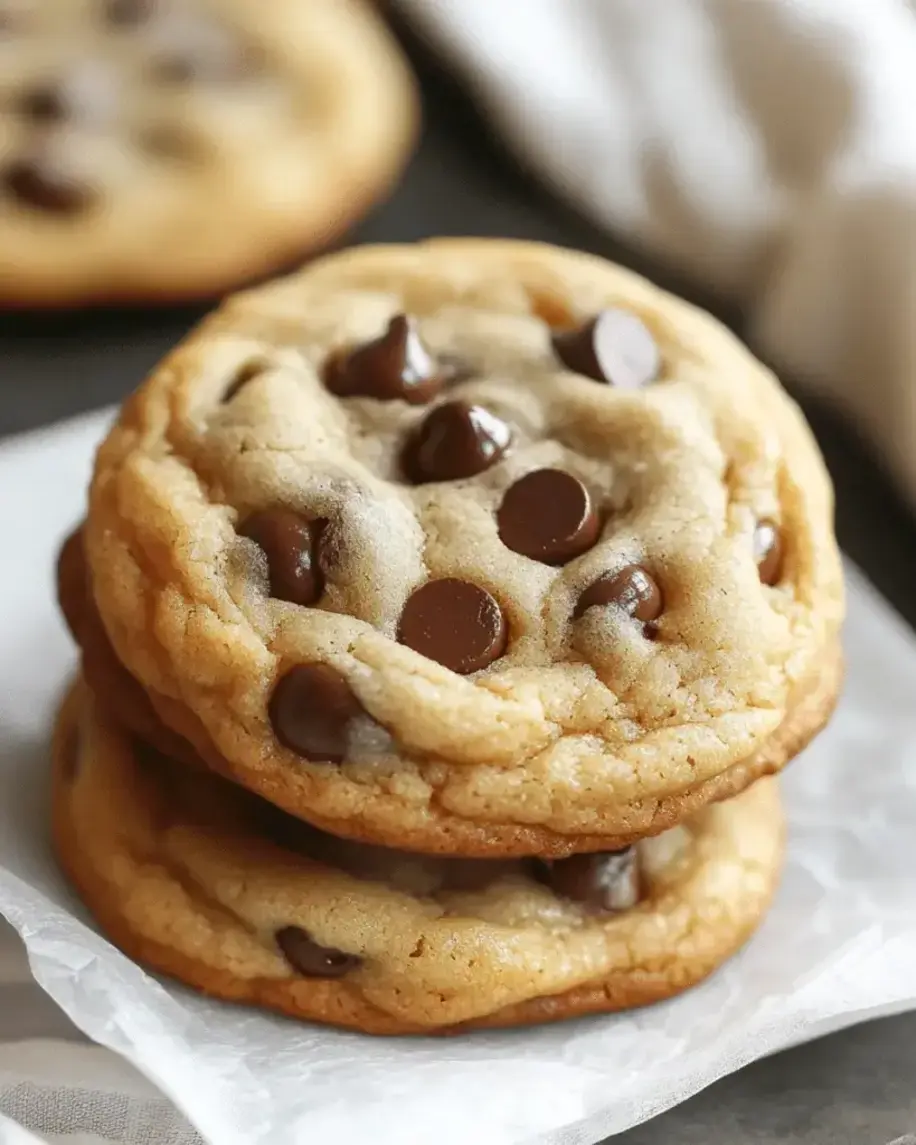
The Best Soft and Chewy Chocolate Chip Cookies Recipe
Why This Recipe Reigns Supreme
Are you tired of chocolate chip cookies that turn out too flat, too dry, or just plain ordinary? Does the thought of achieving that perfect balance of soft center and chewy edge feel like a baking myth? You’re not alone! Many home bakers struggle to recreate that quintessential soft and chewy chocolate chip cookie. But what if I told you that achieving bakery-worthy results is not only possible but surprisingly simple? This recipe is meticulously crafted to deliver the ultimate soft and chewy chocolate chip cookie, every single time. Forget those disappointing batches; get ready for a cookie experience that will have everyone asking for your secret!
The Heart of the Cookie: Ingredients You’ll Need
The magic of a truly exceptional chocolate chip cookie lies in the quality and balance of its ingredients. We’re talking about simple, pantry-staple items, but how you combine them makes all the difference. Precision here ensures that velvety texture and rich flavor you crave.
Dry Ingredients
- 2 ¼ cups (280g) All-Purpose Flour: The foundation of our cookie structure. Sifted flour leads to a lighter texture. (Substitution: You can use a gluten-free all-purpose blend, though texture might vary slightly.)
- 1 teaspoon Baking Soda: Our leavening agent, crucial for that perfect spread and chewiness. (Ensure it’s fresh for optimal results!)
- 1 teaspoon Salt: Balances the sweetness and enhances the chocolate flavor. A good quality sea salt or kosher salt is ideal. (Don’t skip this – it’s a flavor booster!)
Wet Ingredients
- 1 cup (2 sticks or 227g) Unsalted Butter, softened: Crucial for richness and texture. “Softened” means it gives slightly when pressed, not melted. (Substitution: You can use salted butter, but reduce the added salt in the recipe to ½ teaspoon.)
- ¾ cup (150g) Granulated Sugar: Contributes to crisp edges and overall structure.
- ¾ cup (165g) Packed Brown Sugar (light or dark): This is your secret weapon for moisture and that irresistible chewy factor. Dark brown sugar will yield a slightly richer, more caramel-like flavor. (The packing is key for accurate measurement!)
- 2 large Eggs: Bind the ingredients and add richness. Room temperature eggs incorporate best.
- 2 teaspoons Pure Vanilla Extract: The aromatic soul of the cookie. Use the good stuff for maximum flavor impact. (Don’t skimp on quality here!)
The Star Players (Chocolate Chips!)
- 2 cups (about 340g) Chocolate Chips: Your choice! Semi-sweet is classic, but milk, dark, or even chunks work beautifully. A mix is fantastic for depth of flavor. (Consider using a combination of chip sizes for varied meltiness.)
Timing is Everything
While many chocolate chip cookie recipes can be baked almost immediately, chilling the dough is a non-negotiable step for achieving that perfect soft and chewy texture. It allows the flour to hydrate and prevents excessive spreading. Compared to quicker recipes that often result in flatter cookies, this extra time investment is well worth the reward. Make yourself a cup of tea or coffee while the dough chills – it’s a moment of anticipation before cookie perfection!
Crafting Your Dream Cookie: Step-by-Step
Now comes the fun part! Follow these simple steps, and you’ll be rewarded with cookies that are the stuff of dreams.
Step 1: Preheat & Prep Your Baking Station
Preheat your oven to 375°F (190°C). Line baking sheets with parchment paper or silicone baking mats. This prevents sticking and ensures even baking, giving you those beautifully golden edges.
Step 2: Whisk Together the Dry Ingredients
In a medium bowl, whisk together the all-purpose flour, baking soda, and salt. Whisking aerates the flour and evenly distributes the leavening agents and salt, preventing any dense pockets in your final cookies.
Step 3: Cream the Butter and Sugars to Perfection
In a large bowl, using an electric mixer (stand mixer or hand mixer), beat the softened butter, granulated sugar, and packed brown sugar on medium speed until light and fluffy. This process, known as creaming, incorporates air into the dough, which is essential for cookie texture and lift. Scrape down the sides of the bowl occasionally to ensure everything is well combined.
Step 4: Incorporate the Eggs and Vanilla
Add the eggs one at a time, beating well after each addition. Then, stir in the pure vanilla extract. Beating the eggs in well helps emulsify the mixture, creating a stable base for the dough.
Step 5: Gradually Add the Dry to the Wet
With the mixer on low speed, gradually add the dry ingredient mixture to the wet ingredients. Mix only until just combined. Overmixing at this stage can develop the gluten too much, leading to tough cookies. A few streaks of flour are okay; they’ll disappear when you add the chocolate chips.
Step 6: Fold in the Chocolate Chips
Gently fold in the chocolate chips using a spatula or wooden spoon. Distribute them evenly throughout the dough. Avoid overmixing; we want those glorious chocolate pockets intact!
Step 7: Chill the Dough (Crucial for Texture!)
Cover the bowl with plastic wrap and refrigerate the dough for at least 30 minutes, or preferably 1-2 hours. This chilling step is vital. It solidifies the butter, preventing the cookies from spreading too much during baking, and allows the flavors to meld. If you have the patience, chilling for longer (up to 72 hours) can even deepen the flavor!
Step 8: Bake to Golden Perfection
Drop rounded tablespoons of chilled dough onto the prepared baking sheets, leaving about 2 inches between them. Bake for 10-12 minutes, or until the edges are lightly golden brown and the centers still look slightly soft. Don’t overbake! The residual heat will continue to cook them as they cool.
Step 9: Cool and Enjoy
Let the cookies cool on the baking sheets for about 5 minutes before transferring them to a wire rack to cool completely. This allows them to set up properly. The hardest part? Waiting for them to cool enough to eat!
Nutritional Highlights (Per Cookie, Approximately)
- Calories: ~200-250 kcal (varies with chip size and type)
- Fat: ~12-15g
- Carbohydrates: ~25-30g
- Sugar: ~15-20g
- Protein: ~2-3g
Note: These are approximate values and can vary based on specific ingredient brands and portion sizes.
Healthier Swaps for Guilt-Free Indulgence
Want to enjoy these cookies with a little less indulgence? Here are some flavor-preserving swaps:
- Flour: Try substituting half of the all-purpose flour with white whole wheat flour for added fiber.
- Sugar: Reduce the granulated sugar slightly and consider using maple sugar or coconut sugar for a more natural sweetness, though this may alter texture slightly.
- Butter: For a dairy-free option, use a high-quality vegan butter substitute. The texture should remain similar.
- Chocolate Chips: Opt for dark chocolate chips with a higher cocoa content (70% or more) for less sugar and added antioxidants. You can also use sugar-free chocolate chips.
Serving Suggestions: Elevate Your Cookie Experience
These cookies are divine on their own, but here are a few ways to make them even more special:
- Warm with Milk: The classic pairing. Enjoy a warm cookie dunked in a cold glass of milk.
- Cookie Ice Cream Sandwiches: Once cooled, sandwich a scoop of your favorite ice cream between two cookies.
- With Coffee or Tea: The perfect accompaniment to your morning brew or afternoon tea.
- Add Toppings: Sprinkle a touch of sea salt on top of the cookies right after they come out of the oven for a gourmet touch.
Common Mistakes to Avoid
- Overmixing the Dough: This develops gluten, leading to tough cookies. Mix until just combined.
- Not Softening Butter Properly: Butter that’s too cold won’t cream well, and melted butter will cause excessive spreading.
- Skipping the Chill Time: This is crucial for texture. Don’t rush it!
- Overbaking: Remove cookies when the edges are golden but the centers look slightly underdone. They’ll continue to bake on the hot baking sheet.
- Using Old Baking Soda: Stale baking soda won’t give your cookies the lift they need. Test yours by adding a little to hot water; it should fizz.
Storing Your Delicious Dough and Baked Goods
Dough: Once the dough is made and chilled, you can store it in an airtight container in the refrigerator for up to 3-4 days. You can also freeze dough balls for up to 3 months. Thaw overnight in the fridge before baking.
Baked Cookies: Store completely cooled cookies in an airtight container at room temperature for up to 3 days. To keep them extra soft, add a slice of bread to the container; it releases a little moisture.
Conclusion: Bake On, Cookie Champion!
You’ve now unlocked the secret to the best soft and chewy chocolate chip cookies. This recipe, with its simple steps and a touch of patience for chilling, guarantees a delightful treat that’s perfect for any occasion. Whether you’re a seasoned baker or just starting, these cookies are sure to become a cherished favorite. So gather your ingredients, preheat that oven, and get ready to bake up a batch of pure happiness. Happy baking!
Frequently Asked Questions
What makes chocolate chip cookies chewy?
The chewiness comes from a higher ratio of brown sugar to white sugar, the presence of eggs (specifically the yolks), and sufficient dough chilling time which prevents over-spreading and allows for a denser, chewier texture.
Can I use melted butter instead of softened butter?
Using melted butter will make your cookies spread more and result in a thinner, crispier cookie rather than a soft and chewy one. For this specific recipe aiming for soft and chewy, softened butter is essential.
My cookies spread too much, what went wrong?
This is often due to not chilling the dough sufficiently, using softened butter that was too warm or melted, or overmixing the dough. Ensure your butter is properly softened (not melted) and chill the dough thoroughly before baking.
How do I make sure my cookies are soft and not hard?
Avoid overbaking! Remove cookies from the oven when the edges are just golden and the centers still look slightly underdone. They will continue to cook as they cool on the baking sheet. Also, ensure you’re using enough brown sugar and not overexposing them to dry air during storage.
Can I add other mix-ins?
Absolutely! Feel free to add nuts (like walnuts or pecans), other types of chocolate (chunks, chips of different flavors), or even a sprinkle of sea salt on top before baking for an extra flavor dimension.
The Best Soft and Chewy Chocolate Chip Cookies Recipe

Bake the best soft and chewy chocolate chip cookies with this easy, delicious recipe. Perfect every time!
Ingredients
- 1/2 cupunsalted butter (1stick), softened
- 1 cuppacked brown sugar
- 1/4 cupgranulated sugar
- 1large egg, room temperature
- 1/2 teaspoonvanilla extract
- 1 1/2 cupsbread flour (9 oz)
- 1/2 teaspoonbaking soda
- 1/2 teaspoonsalt
- 1 cupsemi-sweet chocolate chips
Instructions
- Preheat the oven to 350°F. Line a baking sheet with parchment paper or a silicone baking mat.
- In a mixing bowl, cream the softened butter, brown sugar, and granulated sugar together using a stand or hand mixer until smooth.
- Add the egg and vanilla extract to the butter-sugar mixture, mixing until just incorporated.
- In a separate bowl, combine the bread flour, baking soda, and salt. If possible, weigh the flour for accuracy.
- Gradually add the dry flour mixture into the wet ingredients. The dough will be thick and crumbly at first, but don’t worry! Mix it with the hand mixer for about 30 seconds and then use your hands to fully incorporate the dough into a ball.
- Gently fold in the chocolate chips with a spatula or your hands.
- Cover the dough and refrigerate for 2 hours to 36 hours. When ready to bake, let the dough rest at room temperature for about 15 minutes before rolling into cookie dough balls.
- Roll the dough into balls, about 3 tablespoons each. These cookies will be large and indulgent!
- Bake for 12-14 minutes, or until the tops are lightly golden brown. Let the cookies cool on the baking sheet for a few minutes before transferring to a wire rack.
- Store the cookies in an airtight container for up to 3 days.
- Details:
- Soft and chewy with crispy edges
- A perfect combination of sweet and salty
- The deep caramel flavor from brown sugar and bread flour makes these cookies irresistible
“`
Leave a Reply